Getting Started
This walkthrough takes you from a fresh install to coding inside an isolated workspace.
1. Install
See Installation. In short:
2. Add your OpenCode config
Every workspace shares the OpenCode configuration in your global config directory. Copy your existing setup into it so all workspaces inherit it:
cd ~/.config/opencode-manager

cp /path/to/your/opencode.json .
cp -r /path/to/your/skills/*   skills/
cp -r /path/to/your/commands/* commands/
cp -r /path/to/your/agents/*   agents/
cp -r /path/to/your/plugins/*  plugins/
# optional shared instructions:
cp /path/to/your/AGENTS.md     .
These are mounted read-only into every workspace, so editing them on the
host updates all workspaces live. ocm creates this directory and an empty
opencode.json on first run, so the layout already exists.
See Concepts → Shared OpenCode config for exactly what is shared and how.
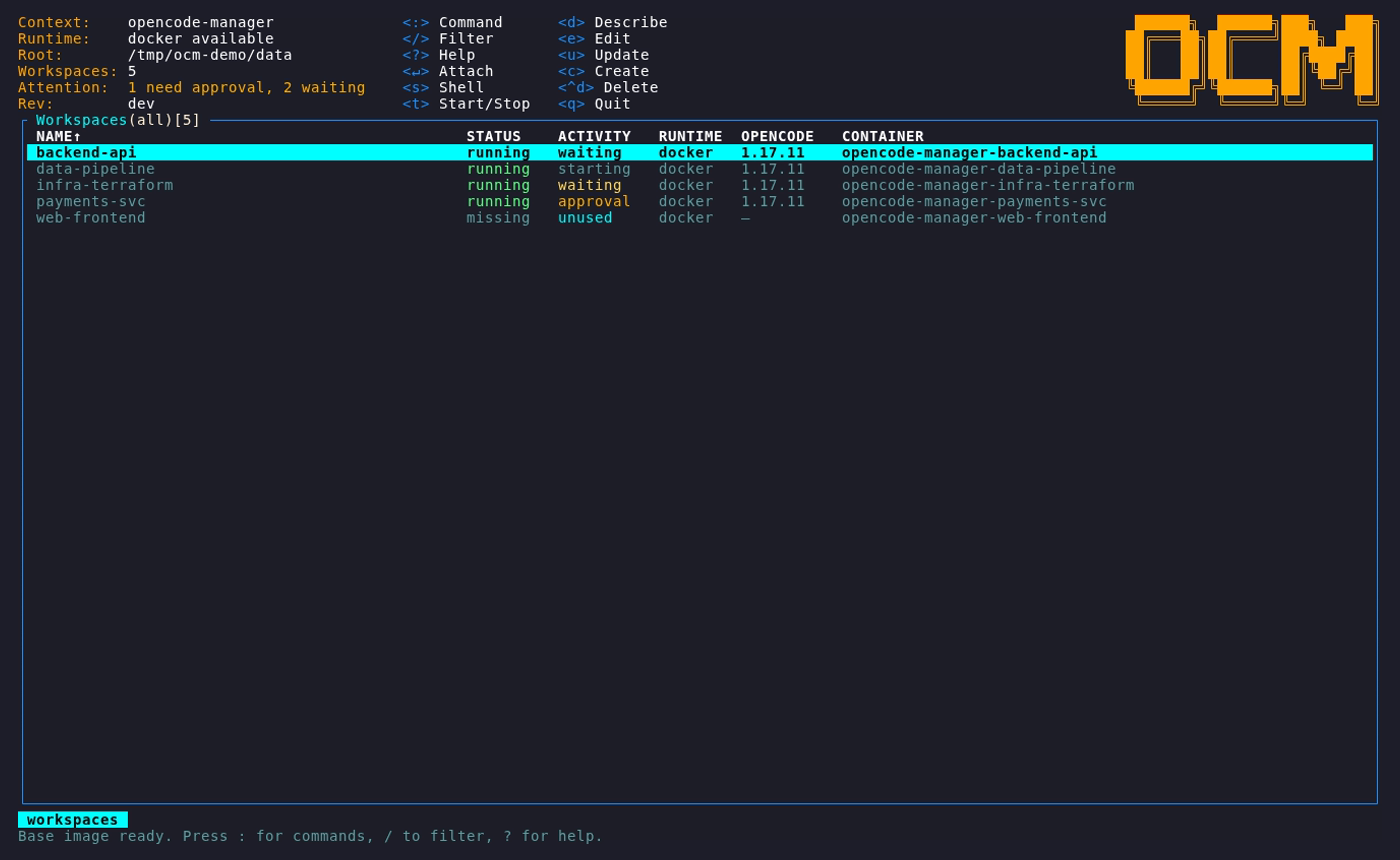
3. Launch the dashboard
On first run the base image is pulled or built. When it is ready you land on the workspaces page.
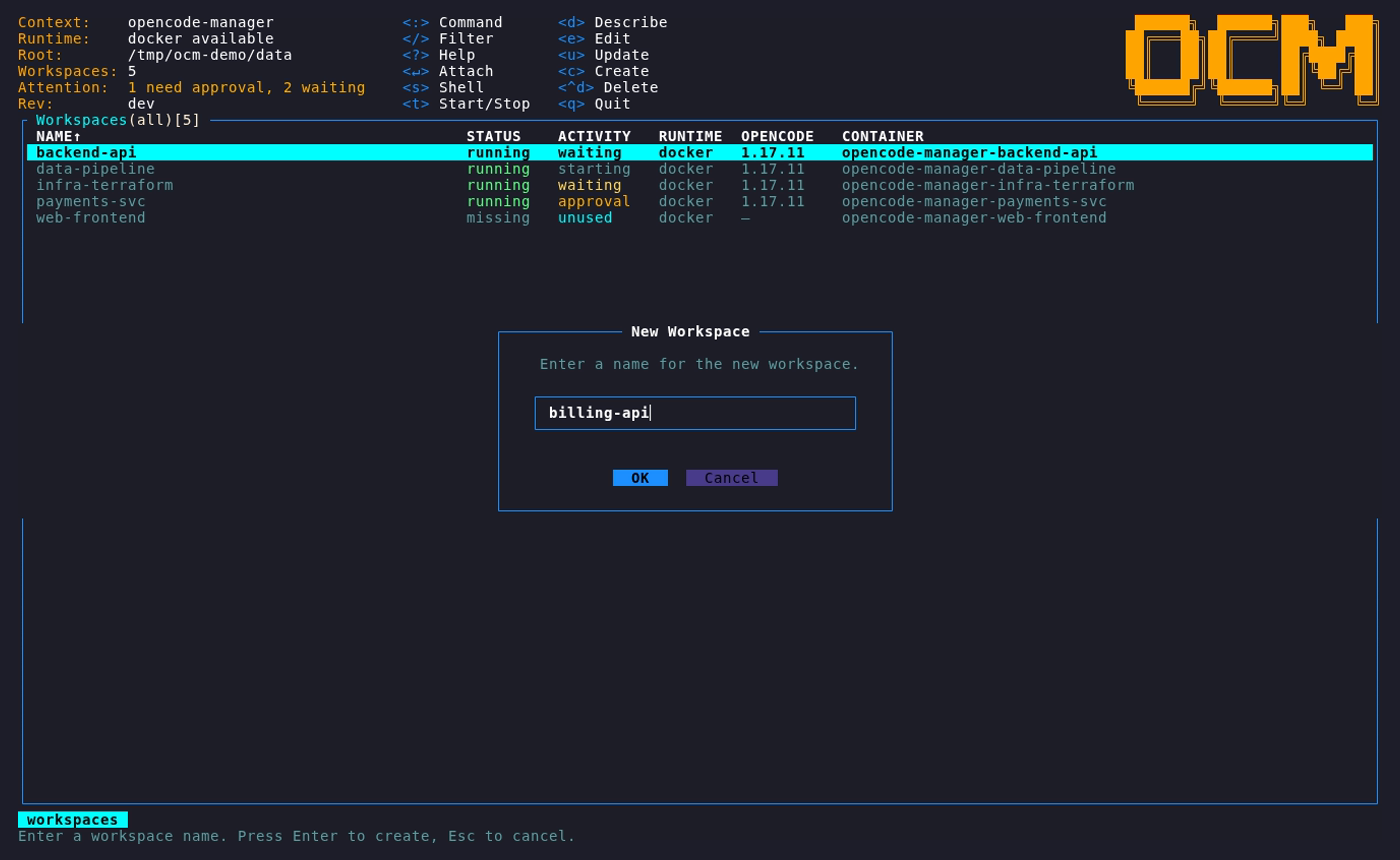
4. Create a workspace
Press c (or type :create). Name the workspace; if you already have
templates, an optional template selector appears under the name
(Tab to focus it, ←/→ to choose, or leave it on None).
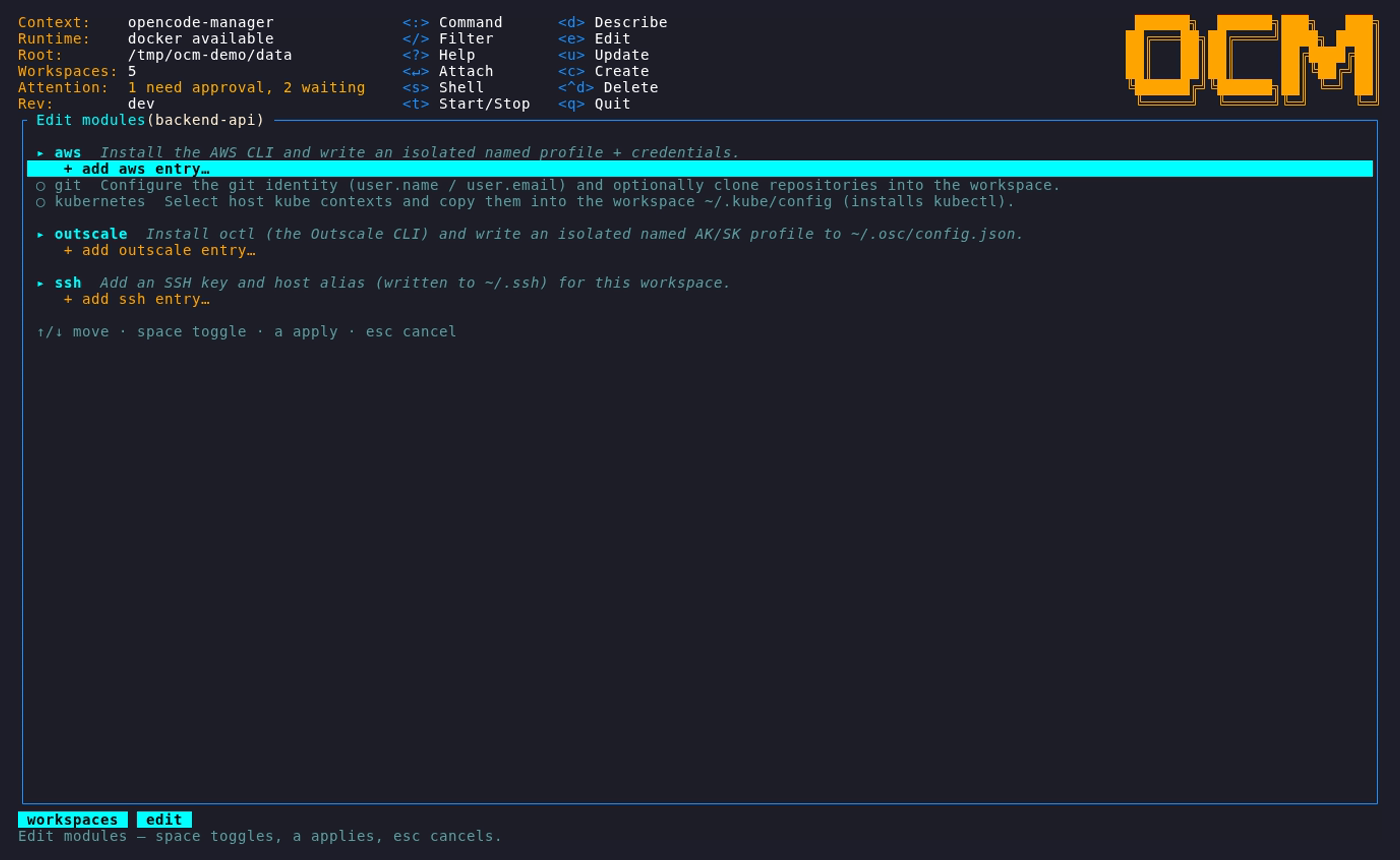
5. Add the modules it needs
Select the new workspace and press e to edit its modules. Add only what this
project requires — for example AWS, Git, Kubernetes, or SSH — so the agent gets
exactly that project's credentials and nothing else.
Multi-instance modules can import accounts already configured on your host:
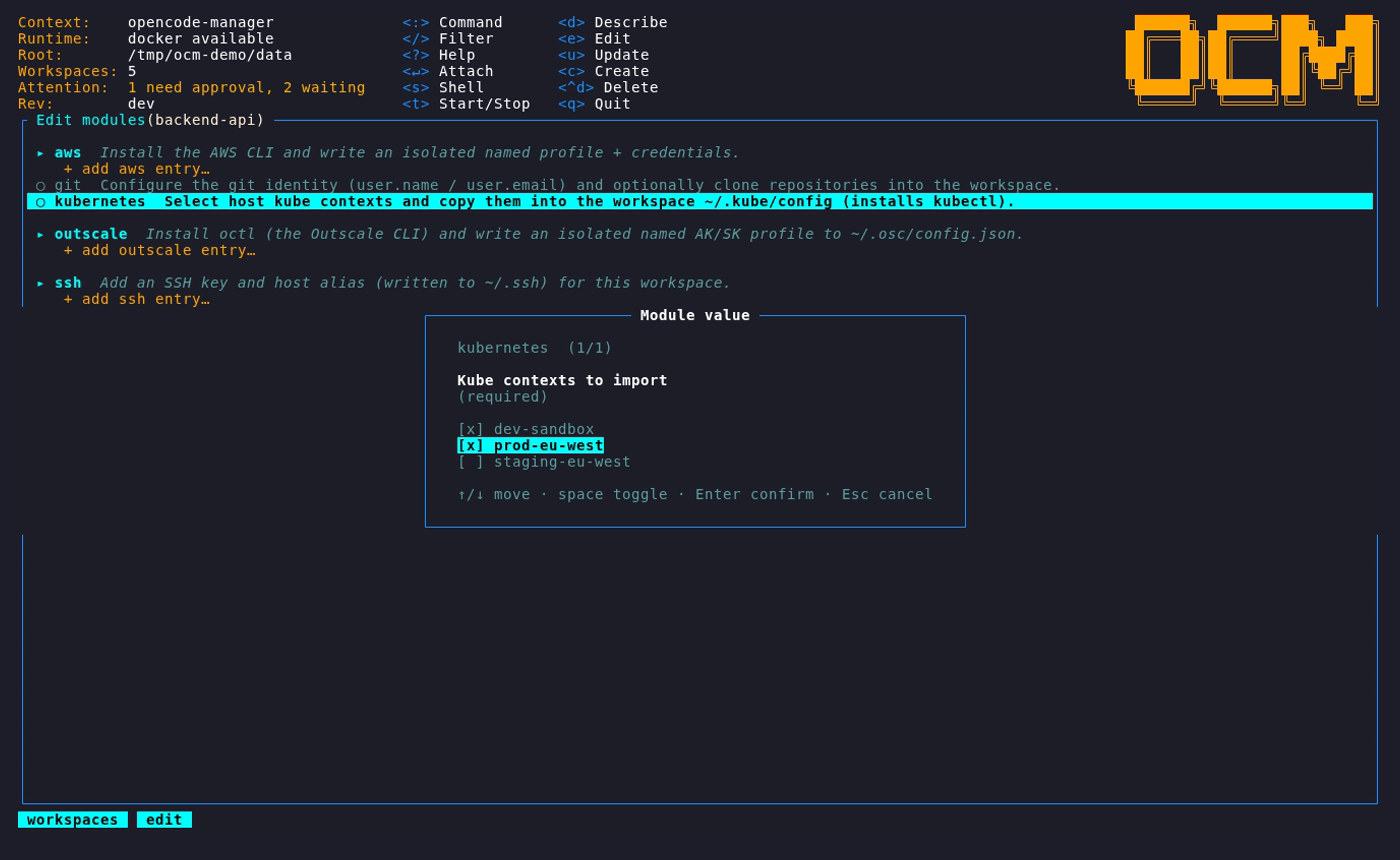
See Modules for what each built-in module does.
6. Attach and start coding
Press Enter on the workspace to drop straight into its OpenCode TUI, running
inside the isolated container.
Clone whatever repositories you need inside the workspace home directory and work
as usual. When you're done, detach and the container keeps running until you stop
(t) or delete (^d) it.
Next steps
- Learn every key and column in the TUI Guide.
- Capture a reusable module set as a Template.
- Tune the runtime and base image in Configuration.